SolusVM is a popular VPS managment tool. It runs on linux and users can interact it through website like any other scripts. We will guide you step by step to setup your first VPS through SolusVM.
- Log into SolusVM
First of all log into the SolusVM control panel through the provided url. Here we will use our Los Angeles Server url which is https://vps2.hostmayo.com
You will see this login window:
2. Go to Manage Section
3. Install Operating System
Your VPS might come with OS installed. But you can always install new one. The solusvm vps can now be seen with all the details. Just click on manage button.
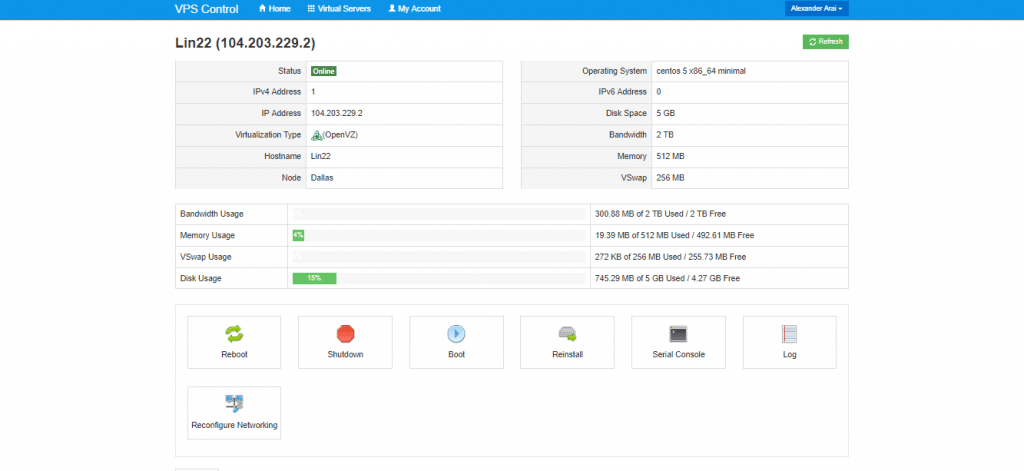
All VPS settings are displayed under Manage section.
You can see the status of VPS. Its usage in terms of RAM, Space, Node etc. You can also see the bandwidth usage and current memory usage. You can also simply reboot, shutdown or check the logs for your recent actions.
| Status | Online |
| IPv4 Address | 1 |
| IP Address | 104.203.229.2 |
| Virtualization Type | (OpenVZ) |
| Hostname | Lin22 |
| Node | Dallas |
Now click on Reinstall button below to install a new OS on your SolusVM VPS.
4. Select desired OS
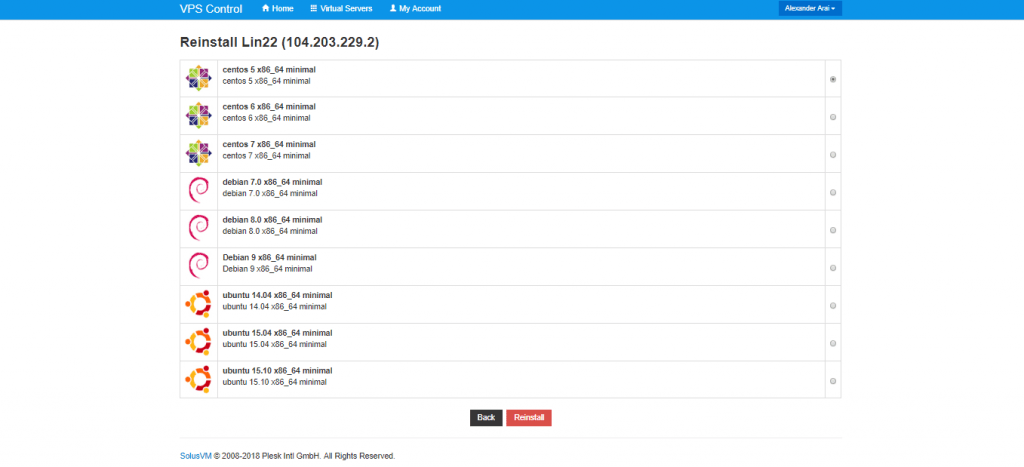
Now select the Linux template you want to install and client on Reinstall button one last time. Walla you have your new operating system installed on the VPS. The SolusVM VPS are easy to manage and because of the web based GUI its just a matter of clicks. You can also change your root pass from the manage section easily.
In our next tutorial we will guide how to SSH into your VPS and install a VPN over it. Comment below if you have any questions. You can get a basic 512 MB Ram SolusVM VPS for 2$ per month through our special offer. Just click here. For other plans you visit our SolusVM VPS page here.